Most people have thought about putting together an emergency kit at some point. Maybe it was after a bad storm, a long power outage, or a news story about a wildfire or flood somewhere nearby. You made a mental note. Then life got busy, and the idea quietly faded.
If that sounds familiar, you are in good company. Building an emergency kit is one of those things almost everyone agrees is a good idea — and almost everyone keeps putting off.
Here is the thing: a 72-hour emergency kit is not about extreme prepping or preparing for the end of the world. It is about being a responsible adult who is ready for the kinds of emergencies that happen to regular families every year across the United States. Think of it the same way you think about a spare tire in your trunk or a smoke detector on the ceiling. It is just good sense.
This guide will walk you through exactly what to include, what most people get wrong, and how to build your kit one manageable step at a time.
In many U.S. emergencies — hurricanes, ice storms, wildfires, extended power outages, or sudden evacuations — help does not always arrive right away. Emergency responders work hard, but roads can be blocked, resources get stretched thin, and it can take days before things stabilize enough for outside assistance to reach everyone who needs it.
That is why FEMA and the American Red Cross recommend that every household be prepared to take care of itself for at least 72 hours — three full days — without depending on outside help. Three days is a realistic window. It is long enough to matter, and short enough that building a kit for it is completely doable.
This is not about fear. It is about not being caught off guard.
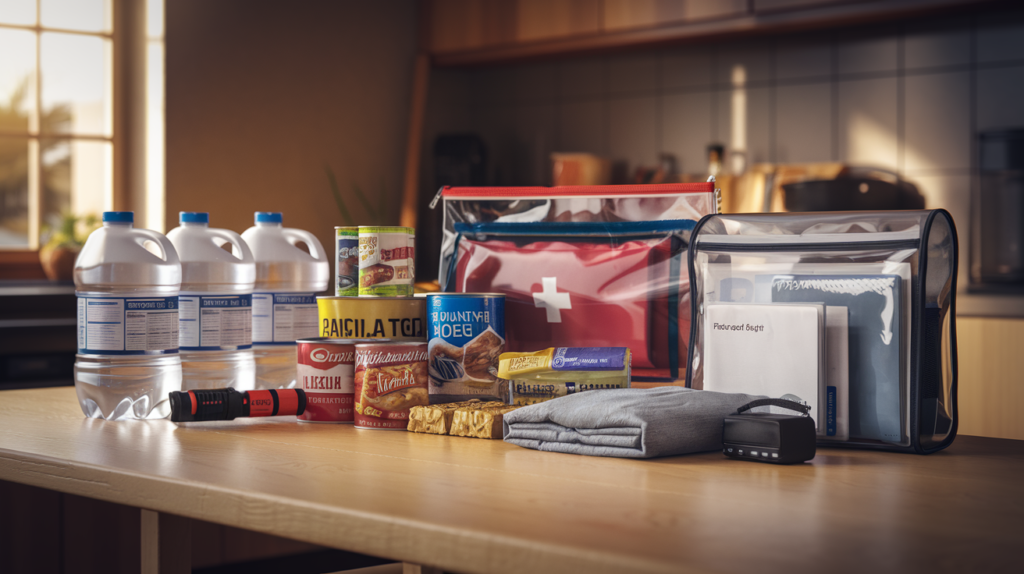
A solid emergency kit covers six main areas. Work through each one and you will be better prepared than most households around you.
Water is the single most important item in your emergency kit — and the one most people underestimate.
The standard U.S. guidance is at least 1 gallon of water per person per day for at least 3 days, covering both drinking and basic sanitation needs. For a family of four, that means storing at least 12 gallons. That number might feel like a lot until you realize how quickly water becomes critical when the tap stops working.
What to include:
Store your water in a cool, dark place away from direct sunlight. Check expiration dates on commercially bottled water and rotate your supply every six to twelve months so it stays fresh and safe.
Common mistake: Storing water in old milk jugs or juice containers. These are nearly impossible to clean thoroughly and can harbor bacteria. Stick with food-grade storage containers or sealed commercial bottles instead.
Your emergency food supply does not need to be fancy. It just needs to be food your family will actually eat.
Focus on non-perishable items that require little or no cooking. Familiar foods matter more than you might think — especially for children — when stress levels are already high.
What to include:
Aim for a three-day supply of food per person. Store what you actually eat. An emergency is not the time to introduce unfamiliar foods, particularly for picky eaters or young children. Rotate your food supply every six to twelve months — when you buy new canned goods at the store, move the older ones into your kit and use them in your regular cooking.
Common mistake: Buying foods that require cooking on a stove when you may have no power or gas. Prioritize items that can be eaten cold or with minimal preparation.
When the power goes out, good lighting affects safety, communication, and your family’s ability to stay calm. It matters more than most people expect.
What to include:
Common mistake: Relying on candles as your main light source. Candles are a fire hazard, especially in stressful situations with children or pets nearby. Keep them as a last resort, not your first plan.
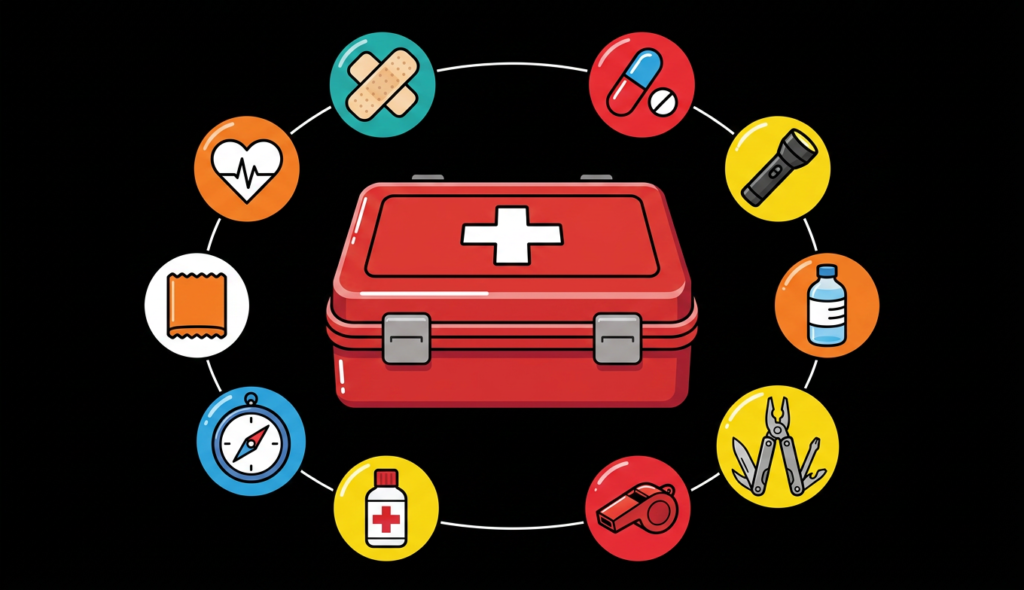
Injuries and health needs do not pause during an emergency. A well-stocked first aid kit handles the everyday medical situations that keep coming up no matter what else is going on.
What to include:
Common mistake: Forgetting about prescription medications until it is too late to get a refill. Talk to your doctor or pharmacist now about keeping a small emergency supply on hand. Some insurance plans allow early refills specifically for emergency preparedness purposes.
In an evacuation, you may need to prove your identity, access money, or reach family members — and you may have only minutes to gather what you need.
What to include:
Store these items in a waterproof bag or small waterproof container inside your kit.
Common mistake: Assuming your smartphone will always be available and working. Cell towers go down, batteries die, and screens crack at the worst moments. Keep a written contact list and paper copies of your most critical documents.
Physical comfort matters more than people expect during a stressful emergency. Hygiene supplies also help prevent illness when normal routines are disrupted for several days.
What to include:
Common mistake: Packing clothes that no longer fit or are the wrong season. Check your kit at least twice a year — spring and fall are good reminders — and update clothing sizes, especially for growing kids.
A kit buried in a closet that nobody can find in the dark is not much of a kit.
Pack your supplies in a sturdy, waterproof container. A large plastic bin with a secure lid works well for home storage. If there is any chance you may need to grab it and go quickly, a durable backpack or rolling duffel bag is a better choice.
Keep your kit somewhere every adult in the household knows about and can reach quickly. Common spots include a hall closet, the garage, or a corner of a bedroom. Make sure older children know where it is and what it is for. Label the container clearly and review the contents at least once a year.
Here is the most important thing to remember: you do not need a perfect kit by this weekend. You just need to start.
A simple week-by-week approach that works for most families:
Six weeks. One category at a time. No big expense all at once.
Here at Survival Tips Central, we want preparedness to feel manageable — because it truly is. Download our free printable 72-Hour Emergency Kit Checklist to track exactly what you have and what you still need. Print it out, work through it at your own pace, and share it with your family.
You have already taken the first step by reading this far. Pick one small thing to do this week. Future you will be very glad you did.