February 14th, 2026
|
Share with
You’re lost or injured. Help is looking for you – but the wilderness is vast and you’re a tiny needle in an enormous haystack.
Survival isn’t just about staying alive until rescue arrives. It’s about making sure rescue CAN find you. The best survival skills in the world won’t help if searchers walk past you 100 yards away.
This guide teaches you how to signal for rescue using methods proven to work.
The Universal Distress Signal: Rule of Three
Three of anything = HELP
- Three whistle blasts
- Three fires in triangle
- Three rock piles
- Three flashes of light
- Three shots (if you have gun)
Pattern: Signal three times, pause, repeat
Why three? Distinguishes from natural occurrences and stands out to searchers.
Method 1: Signal Fire (Day and Night)
Three fires in triangle (100 feet apart) = international distress signal
Practical reality: Three fires are hard to maintain. One big, smoky fire works.
Daytime Signal Fire (Smoke)
Goal: Maximum smoke visibility from air
How to create:
- Build standard fire (hot, established)
- Add green/wet material:
- Green branches with leaves
- Wet grass
- Damp moss
- Green pine boughs
Result: Thick white/gray smoke column visible for miles
Pro tip: Have signal fuel ready BEFORE you hear aircraft. You have seconds to create smoke when you hear a plane.
Nighttime Signal Fire (Flame)
Goal: Bright flame visible from distance
How to create:
- Dry fuel: Dead wood, especially resinous pine
- Build large teepee structure
- Flames should be tall and bright
Contrast matters: Dark night + bright fire = very visible
Smoke Color Tactics
- White/gray smoke: Best against dark forest background
- Black smoke: Best against snow or light-colored terrain
- Create with rubber, plastic, oil-soaked materials
⚠️ Caution: Toxic smoke from synthetics – stand upwind
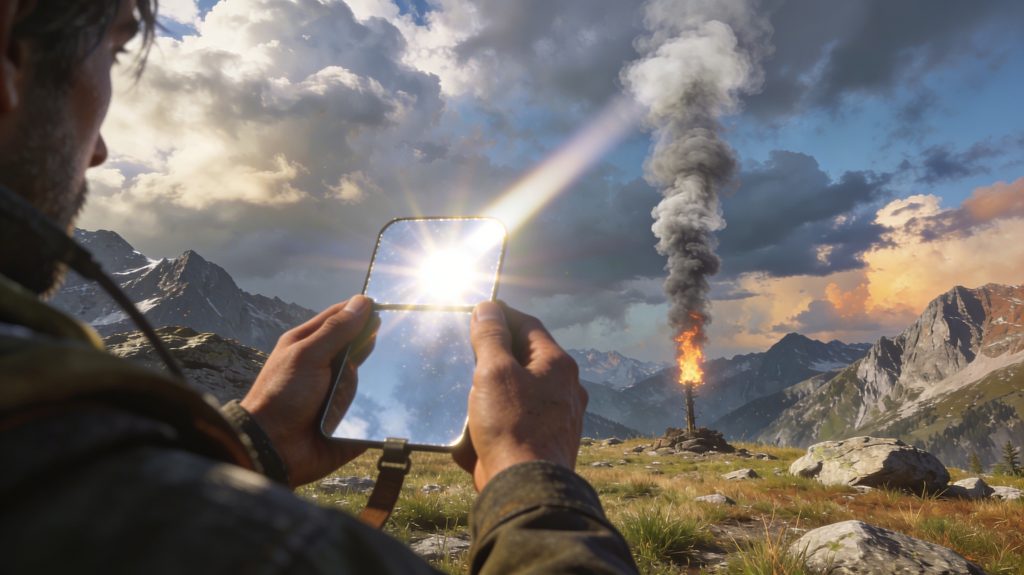
Method 2: Signal Mirror (Extremely Effective)
Fact: Mirror flash visible for 10+ miles to aircraft, boats, ground searchers
Materials:
- Actual signal mirror (best – has sighting hole)
- CD/DVD
- Tin foil
- Polished metal
- Phone screen
- Any reflective surface
How to Signal with Mirror
Method 1 (with sighting hole):
- Reflect sunlight onto palm
- Bring mirror to eye level
- Look through hole at target (aircraft, boat, person)
- Adjust until you see bright spot on target through hole
- Flash repeatedly
Method 2 (improvised mirror):
- Hold up peace sign fingers at arm’s length toward target
- Bounce reflection onto your fingers
- Adjust angle until reflection hits target beyond your fingers
- Flash at target
Flashing pattern:
- Continuous flashes to attract attention
- SOS pattern: … — … (three short, three long, three short)
Best time: Any daylight, but early morning/late afternoon when sun is lower
Works on: Aircraft, boats, ground search teams, passing hikers
Method 3: Whistle (Essential Carry)
Why whistle beats yelling:
- Carries farther (up to 1 mile in ideal conditions)
- Requires less energy
- Can’t lose your voice
- Distinct, non-natural sound
Signaling pattern:
- Three blasts (universal distress)
- Pause (1 minute)
- Repeat
When to use:
- You hear voices
- You hear search activity
- Periodically throughout day (every 10-15 minutes)
- When too weak to yell
Best whistles: Fox 40 (referee whistle), Storm whistle. Avoid cheap whistles – they fail when wet.
Carry location: On pack strap or around neck – must be instantly accessible
Method 4: Ground-to-Air Signals
Large symbols visible from aircraft
Standard Ground Symbols
Most important signals:
- X = Need medical assistance
- I = Need medical supplies
- F = Need food and water
- → = Proceeding in this direction
- LL = All is well
- △ (triangle) = Safe to land here
How to create:
- Rocks arranged in lines
- Logs/branches
- Clothing spread out
- Dig trenches and fill with contrasting material
- Stomp pattern in snow
Size matters:
- Minimum: 10 feet per side
- Better: 20+ feet per side
- Lines: 3 feet wide minimum
Contrast is critical:
- Dark materials on light background (snow, sand)
- Light materials on dark background (forest floor)
Location: Open area visible from above (meadow, ridgeline, beach)
The Giant X
Most recognized distress signal from air
Build it:
- Two lines crossing at center
- Each line 30+ feet long
- 3-4 feet wide
- Maximum contrast
Use: Bright clothing, space blankets, logs, rocks, stomped snow paths
Method 5: Signal Panel / Bright Clothing
High-visibility colors:
- Orange (hunter orange best)
- Red
- Yellow
- Bright blue
Methods:
- Spread clothing on ground in open area
- Hang bright items from trees
- Wave brightly colored shirt at aircraft
- Use space blanket (shiny side out)
Create contrast – don’t put orange on brown leaves
Method 6: Strobe Light / Flashlight
Night signaling with artificial light
Devices:
- Emergency strobe (visible miles away)
- Headlamp on strobe mode
- Flashlight
Signaling patterns:
- SOS: … — … (short-short-short, long-long-long, short-short-short)
- Continuous flashing to attract attention
- Point toward sound of aircraft/vehicles
Battery conservation:
- Only signal when you see/hear searchers
- Strobe mode uses less power than solid beam
- Carry spare batteries
DIY enhancer: Wrap water bottle with flashlight inside = diffused signal visible 360°
Method 7: Sound Signals (Besides Whistle)
Bang together:
Pattern: Three strikes, pause, repeat
Effectiveness: Less than whistle, but works if that’s all you have
Gunshots: Three shots = distress signal (if you have firearm and ammo to spare)
Method 8: Movement and Waving
When rescuers are visible:
Most visible movements:
- Wave both arms overhead in large arc
- Jump up and down
- Use bright cloth/shirt as flag
Don’t:
- Wave just one arm (can look like friendly greeting)
- Make small movements (hard to see from distance)
Exaggerate everything – rescuers need to distinguish you from natural movement (branches, animals)
Method 9: Cell Phone / Electronics
Try first, but don’t rely on:
Tactics:
- Get to high ground (better signal)
- Text instead of call (uses less signal)
- Turn off when not trying (save battery)
- Call 911 even without bars (uses any available network)
- Use camera flash as signal (rapid bursts toward aircraft)
Battery conservation:
- Enable airplane mode between attempts
- Turn off screen brightness
- Disable background apps
- Keep phone warm (cold kills batteries)
Rescue Preparation: Do This BEFORE You Go
Tell someone:
- Where you’re going
- Route/trails
- When you’ll return
- File a trip plan
If no one knows you’re missing, no one’s looking.
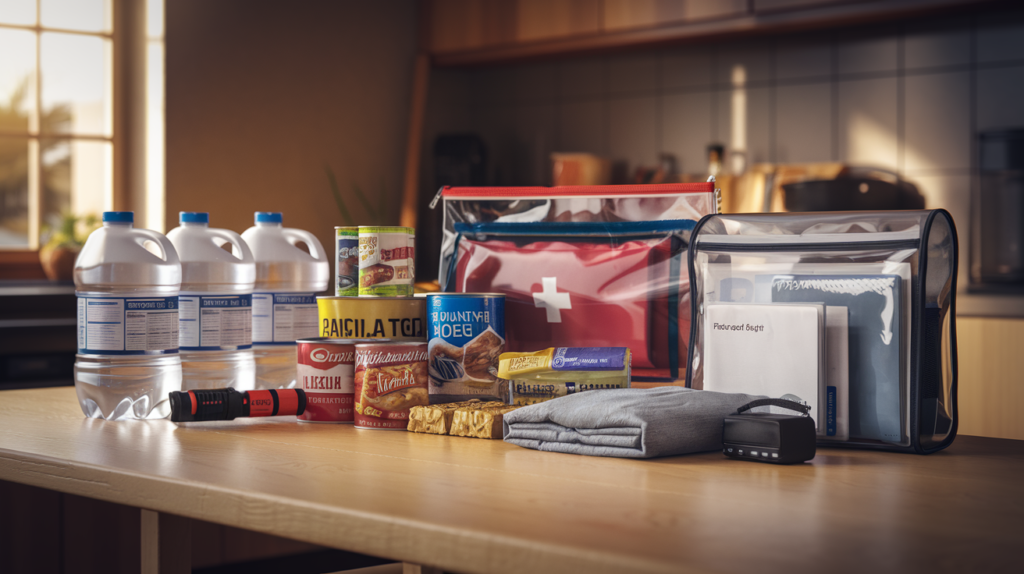
Carry essentials:
- Whistle (on person, not in pack)
- Signal mirror
- Bright clothing
- Space blanket
- Lighter/matches (signal fire)
- Charged phone
Making Yourself Findable
Search and rescue statistics:
- Most found within 1 mile of last known position
- Staying put increases rescue odds (if someone knows you’re missing)
- Moving targets are harder to find
Stay visible:
- Open areas better than dense forest
- Ridgelines/clearings better than valleys
- Make camp visible from above
Keep signaling:
- Don’t give up after first attempt
- Search patterns take time
- Searchers may pass area multiple times
What NOT to Do
Don’t:
- Wander aimlessly (makes you harder to find)
- Assume one signal is enough
- Waste phone battery on non-emergency calls
- Signal at every random aircraft (save energy for actual searchers)
- Give up (rescue often takes longer than expected)
Priority Signals (What to Use When)
Hear aircraft:
- Signal mirror (day)
- Signal fire with smoke (day)
- Strobe light (night)
- Bright clothing laid out
Hear voices/vehicle:
- Whistle (three blasts)
- Shout (after whistle to conserve energy)
- Bang objects together
No immediate search activity:
- Build ground signal (X or SOS)
- Prepare signal fire materials (don’t burn yet)
- Stay visible in open area
- Periodic whistle blasts
The Psychological Factor
Signaling = hope and purpose
When lost or injured, signaling gives you:
- Something productive to do
- Psychological boost
- Sense of control
Keep signaling – it prevents despair and increases rescue odds.
Conclusion
Being found isn’t luck – it’s preparation and smart signaling. The difference between a quick rescue and a tragedy often comes down to visibility.
Action steps:
- Add whistle to keychain NOW
- Buy signal mirror for pack
- Tell someone every time you go into wilderness
- Practice these signals before you need them
The best rescue signal is the one you prepared before you left home.
Your turn: Knowing how to signal is only one piece of survival. Download the 7 Days Emergency Plan below and learn how to get your home, supplies, and family ready before anything happens.